Bind Academic Classes
Classes that are bound will have the same location assigned. The classes may occur at the same or on different dates/times.
The following rules govern bound classes:
- All occurrences of all classes in a bound event set must be assigned the same location
regardless of dates or times.
- Changing the assigned location of a class in a bound set automatically changes the location assignment of all other members of the set to that same location.
You can bind events by choosing Manage Bindings from either of two places in 25Live Pro:
- From the Summary of More Event Options displayed when you finish creating or editing an event in the Event Form.
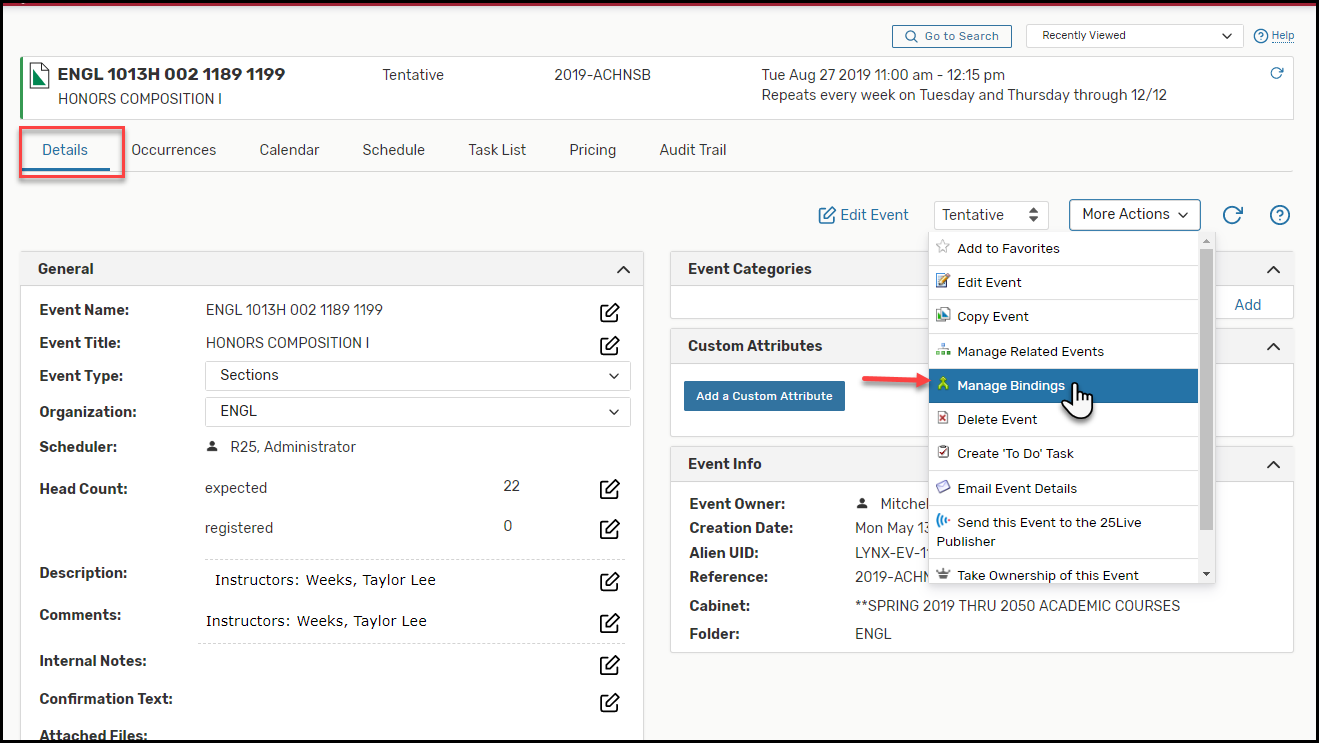
- From the More Action menu for an open event.
Create or Add Classes to a Bound Event Set
- Open an Event in the Details view and choose Manage Bindings from the More Actions drop-down menu.
- Click the Add Events to Set button to add to the set or to create a new set. In the Manage Bound Events window, the title informs you if this even is a bound event set.
- Use the keyword search field to find the event(s) you want to bind to the current event or set.
- Click the box to each event you want to bind.
- Click the Add Selected button.
Note: If you wish to add more classes to the set, click Add Events to Set and select additional classes. - If you need to remove a class from a bound set, select the class(es) and click Remove Events from Set.
- Click Close to continue.
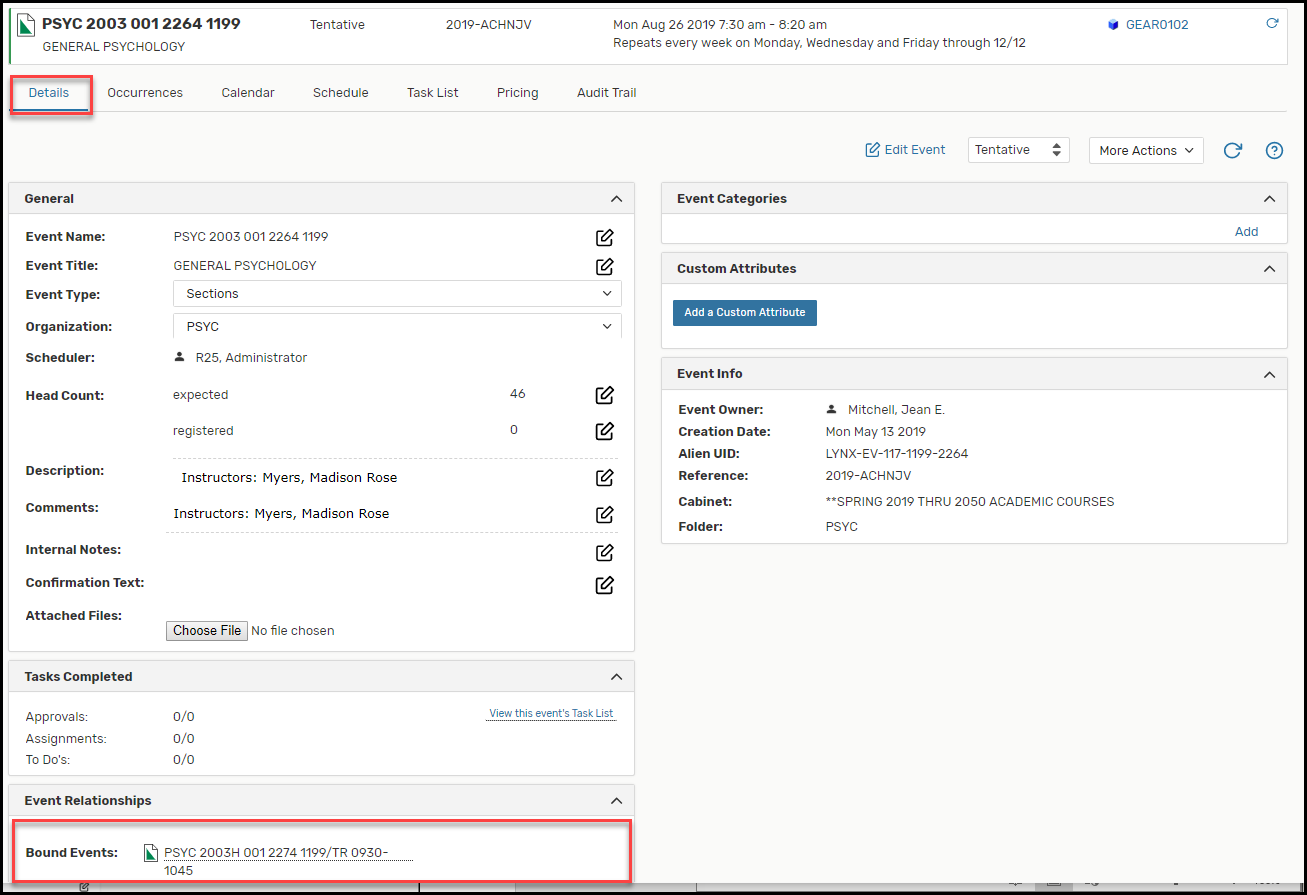
- To verify that you have bound the classes as intended, open one of the classes in
the bound set. The bound events are listed on the Details View in the Event Relationships area.