Click the Sign In link and enter your UARK email address and password.
Click on the Event Form button from your Home page. Note: Use either the scroll bar to navigate up and down or click on the left-hand menu
to navigate to the next heading. Required fields are noted in the title. If any required fields are left blank, the
message "Events cannot be submitted unless all required fields are completed" displays.
Type the name of the event you are creating in the Event Name field. Use a name that is relevant.
Event Title is optional.
Select Other from the Event Type unless you are given a different type by your supervisor or Central Scheduling Office.
Enter the Primary Organization for this event. Select Central Scheduling Office unless you are given a different event type by your supervisor.
Enter an Event Description.
Enter the Event Date and Time. If this is recurring, uncheck the box. This event begins and ends on the same day. Note: The To date should be the same
Enter Additional time for setup, takedown, pre- or post-event time as needed. The Reservation Start and
End dates/time adjust based on information posted. The Reservation Duration box will
update for the additional time.
Click the Repeating Pattern button. The Pattern Picker dialogue box will open. Select from the list in the drop-down
menu.
Select the appropriate option for how the event Repeats. An additional dialoge box will open based on your selection.
Select the days for which the event will occur and the end date for the event. Click
the Select Pattern button.
A new Repeating Pattern calendar will appear with the dates selected highlighted.
Click the View All Occurrences button.
Verify the dates/times are correct. Click Close to close the window and return to the event.
Select the Event Location.
Click Reset button to start a new search.
Select the Hide Locations with conflicts and Enforce head count check boxes.
If you know the specific room, enter a building name and/or room number in the Search Location field. There are no spaces between the building code and room number. If the exact location is known, skip to step 19.
If you have Saved Searches, click the drop-down arrow and select a Saved Search.
Event Resources and Event Custom Attributes are not used at this time. Click Next to continue.
Click the More Options button.
Select the Features, Layouts and Capacity needed for the event. Click Done when selections have been made.
Click Search.
Click the Request button to select a specific room from the room list. The Request
button will be replaced with a message "Added below".
Select Other as the category for this event, unless directed by your supervisor. This defaults
from a selection earlier in the process.
Click Next.
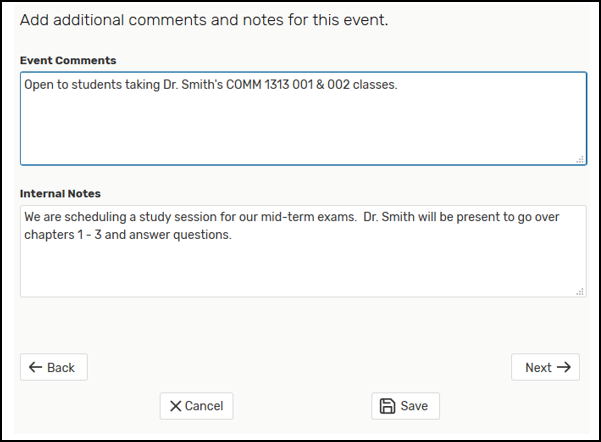
Add Event Comments and Notes. Note:Event Comments can be seen by anyone that opens the event in 25Live. Internal Notes can only be seen by individuals in the approval chain and/or the event creator.
Verify or Change the Event State. The system will default to Tentative. Use Draft or Tentative unless
directed by your supervisor. Note: Select Draft if you have entered most of the information needed. You may finish entering your
information later. Draft events are not in the workflow for approval and specific room requests may not be
saved. When the Draft is reopened, verify that the room initially requested is still available. Enter additional
changes and select Tentative.
Verify information by checking the summary on the left side of the screen.
Click Save. It may take several seconds for the event to save.
A new screen displays when the event is successfully saved.