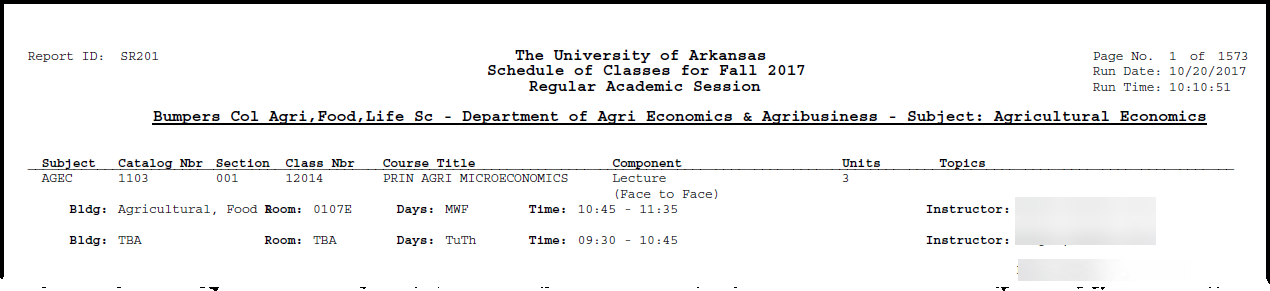
Schedule of Classes: Reporting
Run Control ID
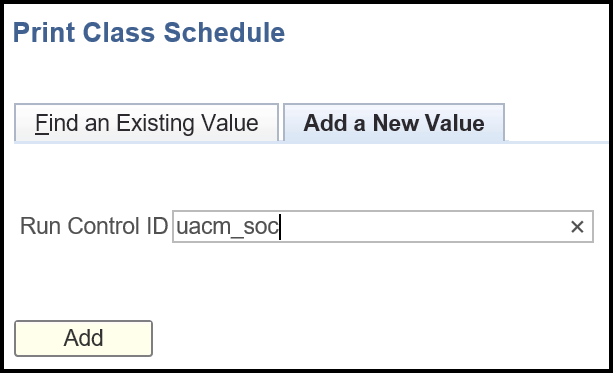
If this is the first time to run the Schedule of Classes report, you must create a Run Control ID.
- Navigate to Curriculum Management, Schedule of Classes, Print Class Schedule.
- Click the Add a New Value tab.
- Type a name in the Run Control ID field. It is recommended you use your department code and the Schedule of Classes (SOC) abbreviation as your Run Control ID name. Example: econ_soc for Economics Schedule of Classes
- Click Add to create your Schedule of Classes Report run control ID.
- Once created, this run control ID is available for use at any time. If a run control
ID has been created, enter the ID and click Search.
Print Class Schedule
From the Print Class Schedule page, indicate the reporting parameters for your report.
Define your query from this page before running the report.
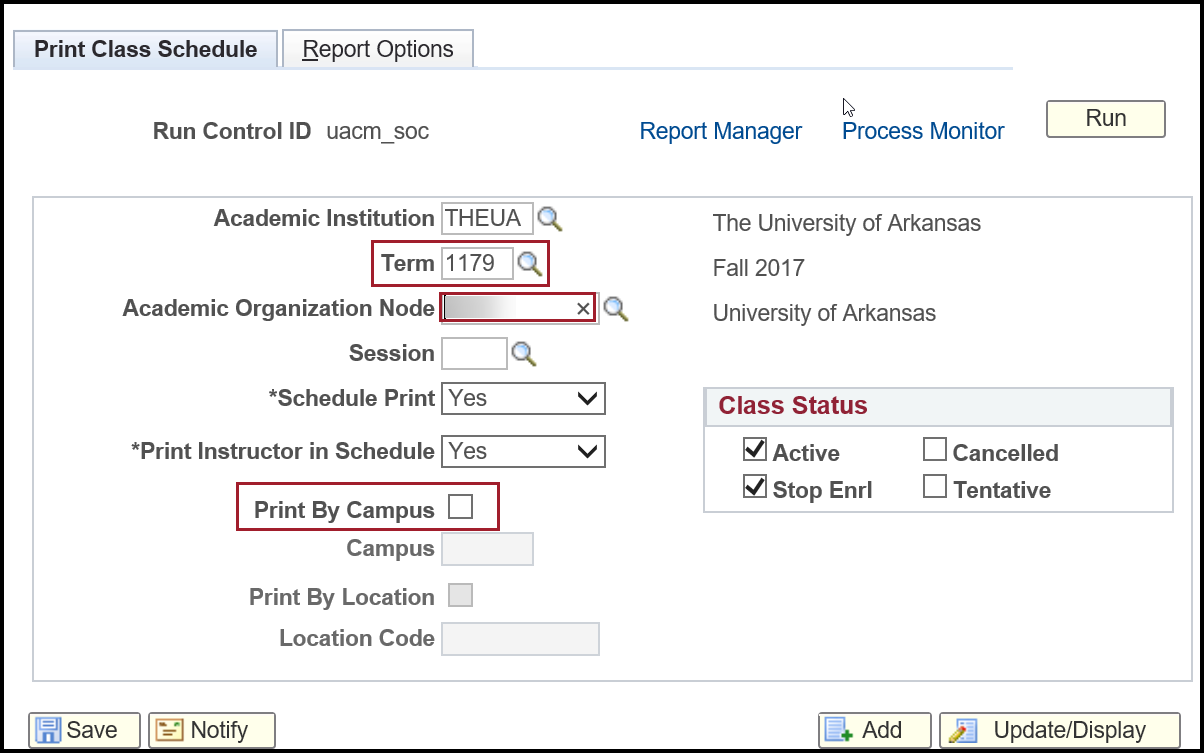
- Input THEUA in the Academic Institution field.
- Input the Term code or click the magnifying glass icon to look up a list of available values.
- Input the Academic Organization Node or click the magnifying glass icon to look up a list of available values. This is your department code. Once the report is created with this Run Control ID, the department code defaults during future use.
- Leave the Session field blank to search for all classes offered for that semester.
- Select a value from the Schedule Print drop-down menu. Available values are:
- Yes - all the classes with this check box selected on the Basic Data page will appear on the report.
- No - all the classes with this check box cleared on the Basic Data will not appear on the report.
- All - all the classes appear on the report, regardless of the check box setting on the Basic Data page.
- Select a value from the Print Instructor in Schedule drop-down menu. Available values
are:
- Yes - all instructors with this check box selected on the Meetings page will appear on the report.
- No - all instructors with this check box cleared on the Meetings will not appear on the report.
- All - all instructors appear on the report, regardless of the check box setting on the Meetings page.
- Check the Print By Location check box for specific locations (i.e. Global Campus Rogers)
Note: In the Class Status group box, you will find additional options for viewing active
classes (Active), cancelled classes (Cancelled), tentative (Tentative), or classes where enrollment has been stopped (Stop Enrl).
Report Print and Delivery Options
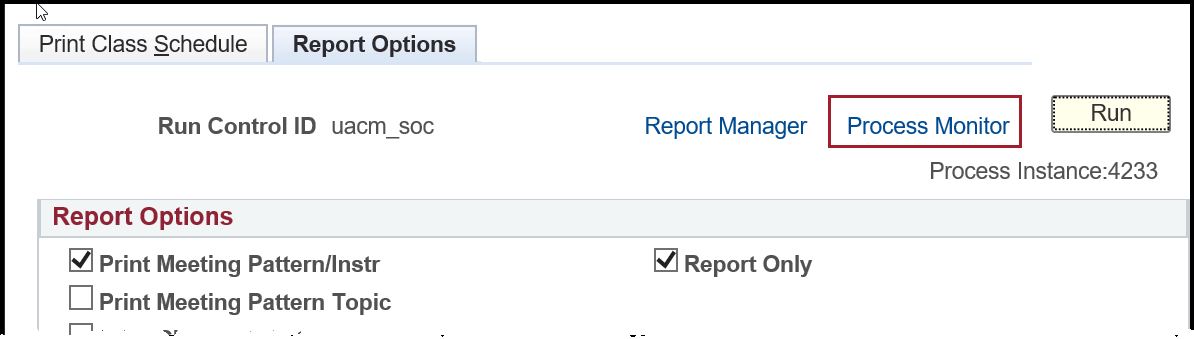
- Click the Report Options tab to define what information appears on the report.
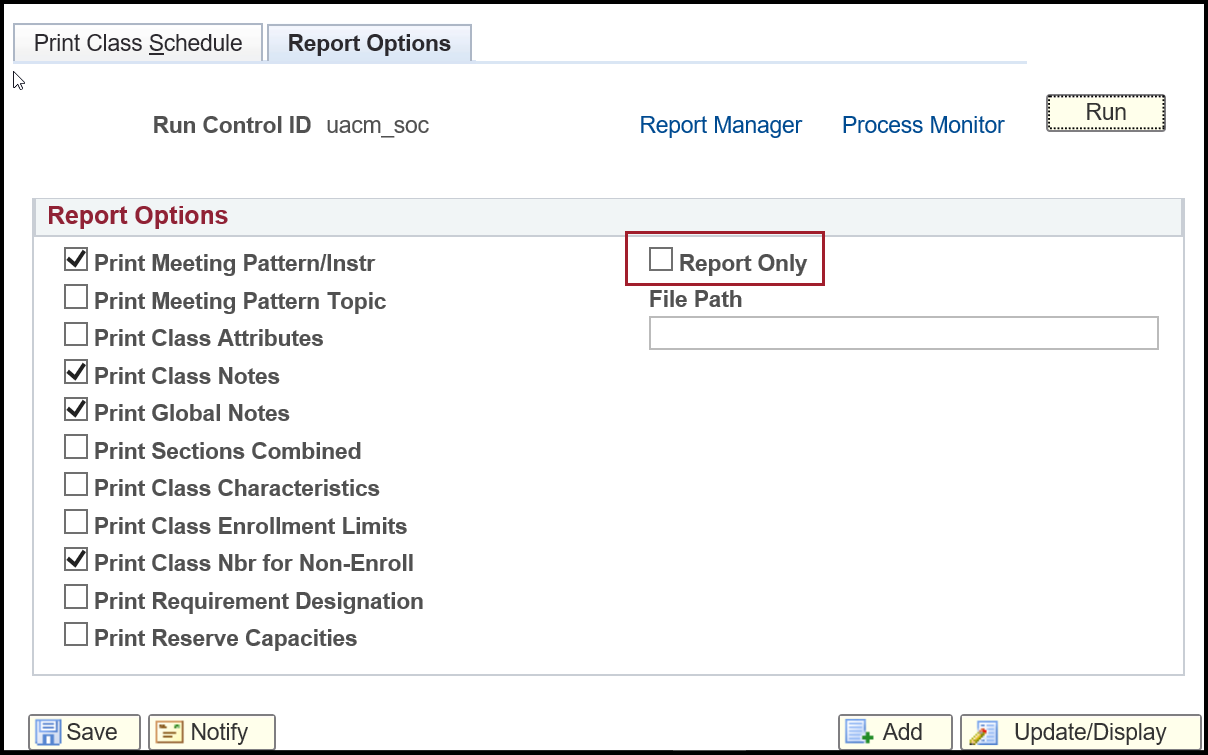
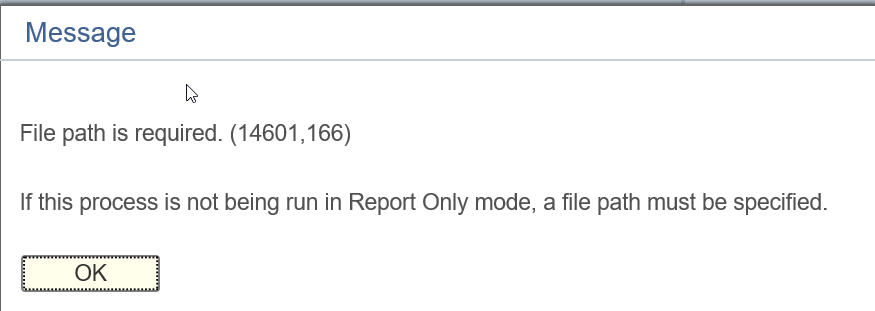
Note: Check the Report Only check box to eliminate the File Path field or the File path is required error message will be displayed.
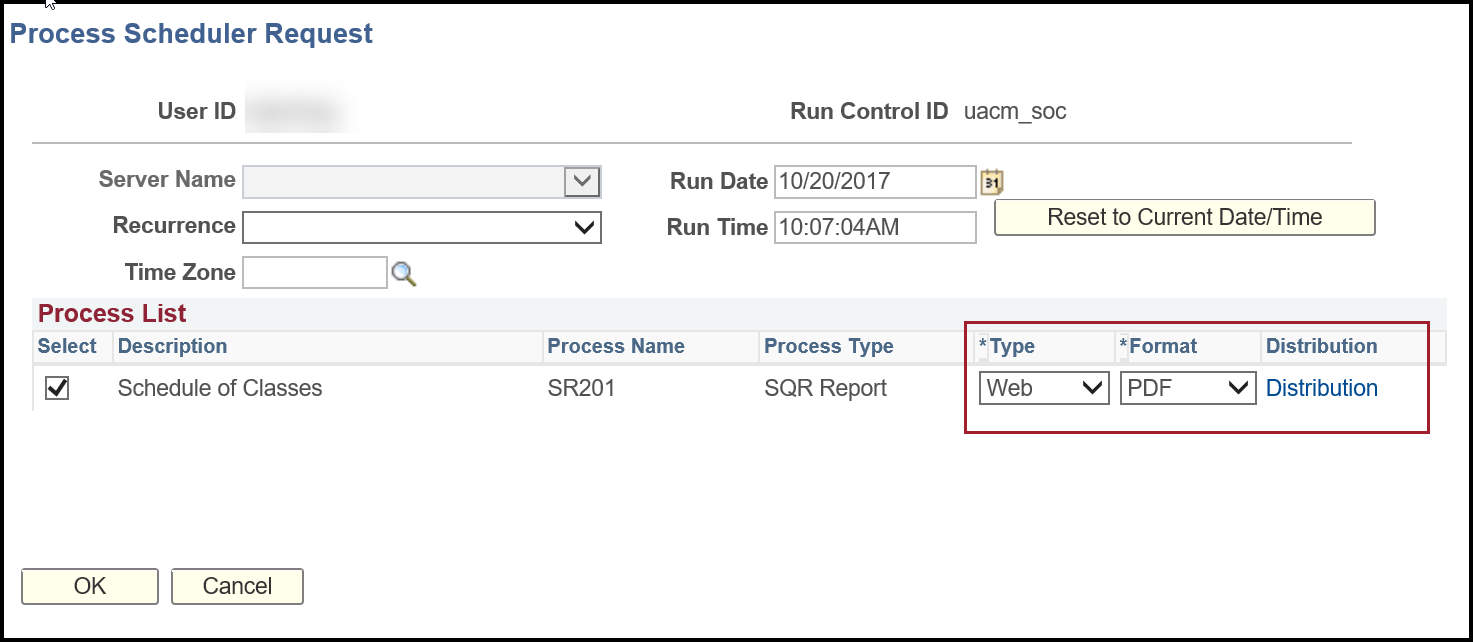
- After selecting the report options, click Run. This action opens the Process Scheduler Request page.
- Select the Type and Format to view the report from UAConnect.
- Select Web from the Type drop-down menu.
- Select PDF from the Format drop-down menu.
- Click Distribution to view options that allow other users to view the report when logging in to UAConnect, or send the report to them through email (when the Type is set to Email).
- Click OK to leave the Distribution page and return to the Process Scheduler.
- Click OK to run the report and return to the Schedule of Classes page.
Report Options
After submitting the job via the Process Scheduler Request page, use Process Monitor to review the status of scheduled or running processes. View all processes to see the status of any job in the queue and control any processes you have initiated.
- Click the Process Monitor link on either the Print Class Schedule page or the Report Options page to open the
Process List page to view the Run Status of the report.
- The Run Status field cycles through these statuses: Queued, Process, Posted, Success.
- Click Refresh at the top of the Process List page to check the current status of a process.
- Once the Run Status indicates Success and the Distribution Status indicates Posted, click the Details link to view the Process Detail page.
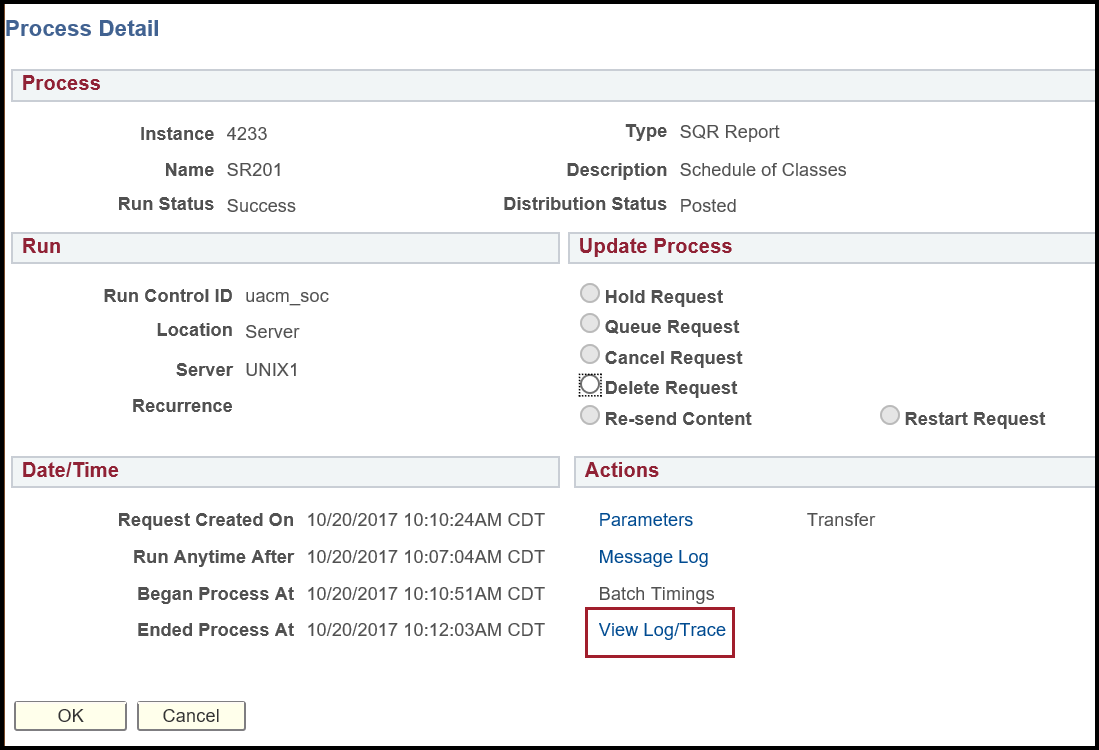
- Click the View Log/Trace link in the Process Detail page to open a new window displaying a link to view the
Schedule of Classes Report.

- Click the .PDF file to open Acrobat Reader and view the report.