Set User Defaults
User Defaults will auto-populate field values in search pages and data entry pages based on your access. They are very useful tools for making data entry easier and faster. User Defaults are only available for administrative users.
The User Defaults component contains several pages, however, this document describes User Defaults 1 and User Defaults 4, which are most generally used.
All other User Default pages are specific to Admissions, Registrar and Financial staff and do not need to be filled in.
Enter as many or as few fields as makes sense for your job. You may change your User Defaults as often as needed. You can always change from the default settings and choose another option when you enter UAConnect.
User Defaults 1
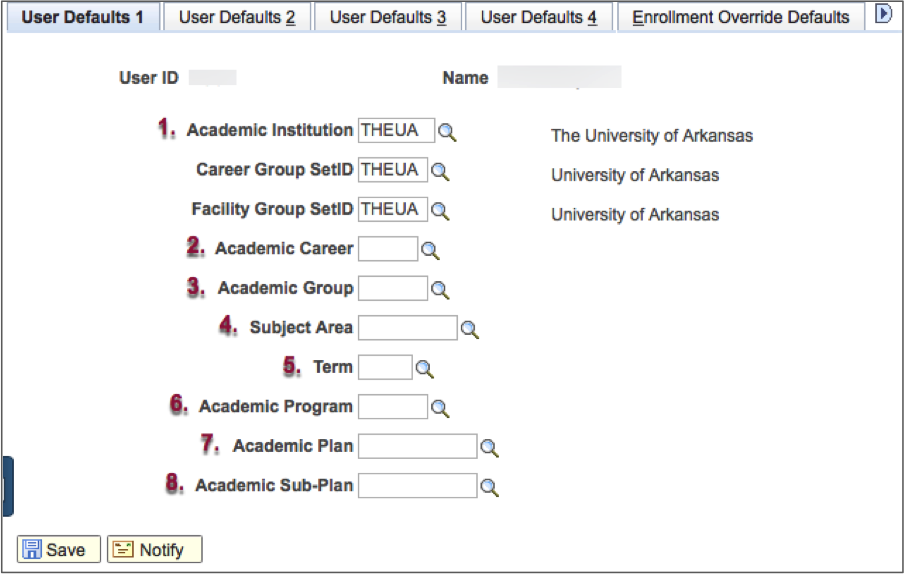
- Click the UA Administrative Users tile. The User Defaults 1 page is now open.
- Type in the values for the noted fields. Click the magnifying glass icon to look up the field values and set only those that you wish to have.
- Click Save when finished.
Key
- Academic Institution = THEUA
- Academic Career = Enter one that matches the majority of students that you work with.
- Academic Group = Enter your college or leave the field blank.
- Subject Area = Enter the subject code or leave the field blank.
- Term = Enter a term code or leave the field blank.
- Academic Program = Enter a college or school or leave the field blank.
- Academic Plan = Enter a major and degree or leave the field blank.
- Academic Sub-Plan = Enter a sub-concentration or leave the field blank.
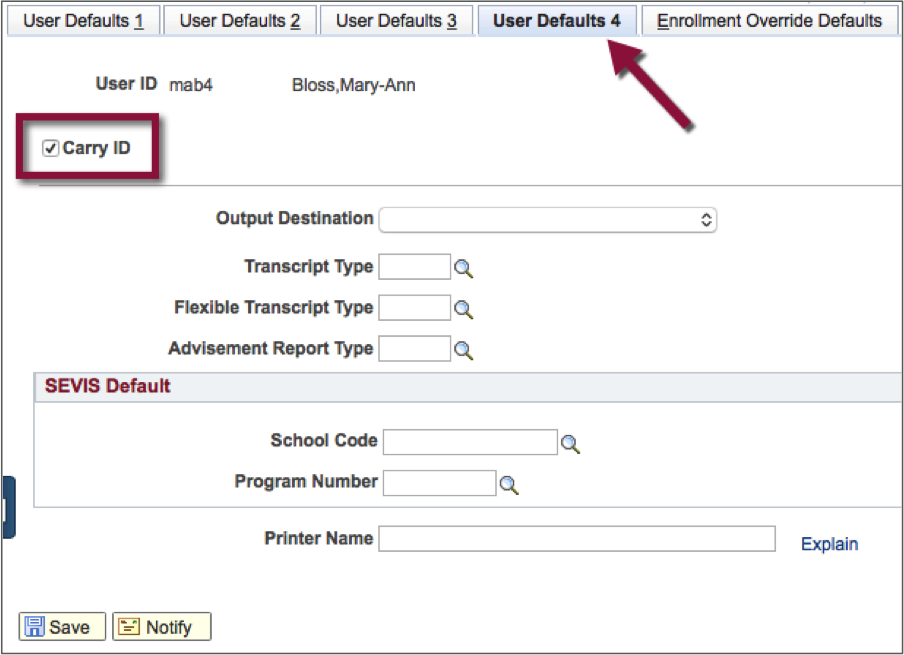
User Defaults 4
The Carry ID default allows you to change pages without having to re-enter the ID.
- Click the Carry ID check box.
- Click Save.